To add shelves to an existing cabinet, measure the interior space, purchase shelf boards and support brackets, and install them according to the manufacturer’s instructions. Carefully consider the shelf placement to optimize storage and accessibility.
Additionally, ensure that the shelves are level and securely anchored to the cabinet. Introducing shelves to an existing cabinet can significantly increase its storage capacity and organization. Whether it’s a kitchen, bathroom, or storage cabinet, the additional shelves provide valuable space to accommodate various items.
By following simple steps to measure, purchase suitable materials, and install the shelves, you can enhance the functionality and aesthetics of your cabinet. This brief guide will walk you through the process, allowing you to successfully add shelves to your existing cabinet with ease and efficiency.

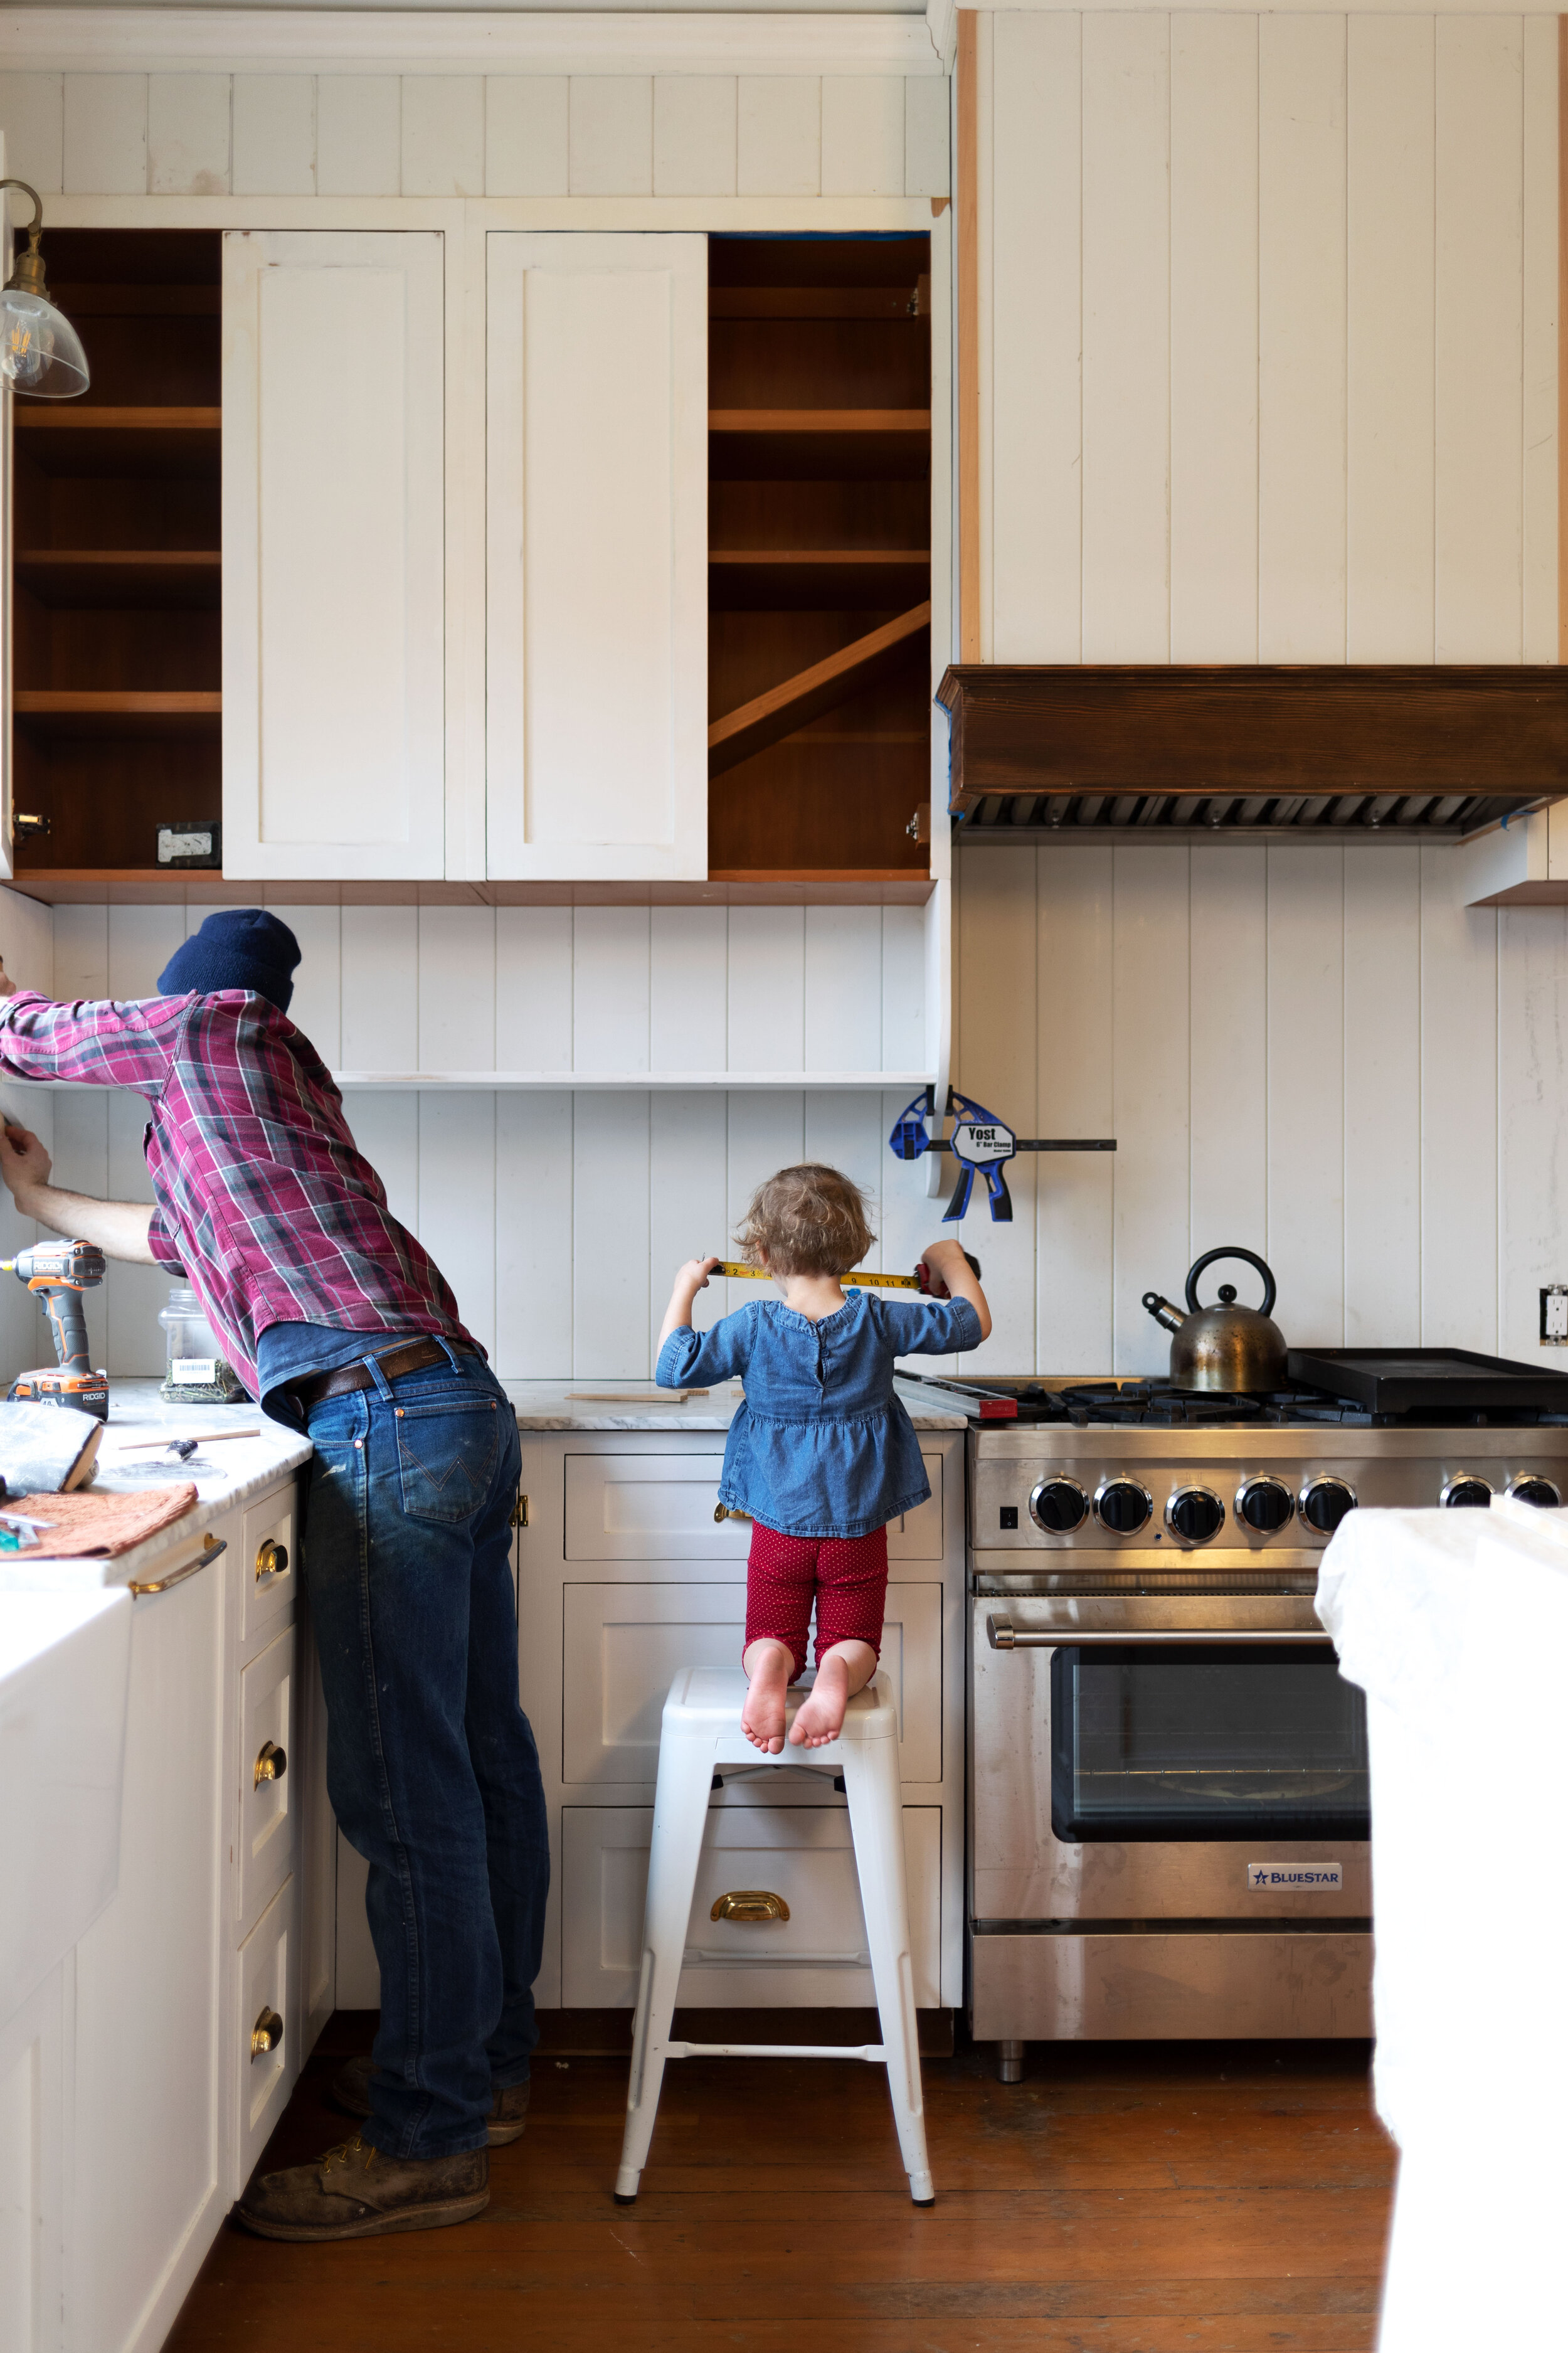
Credit: www.thegritandpolish.com
Assessing The Cabinet
Measuring The Cabinet Space
Begin by measuring the interior width, depth, and height of the cabinet using a measuring tape.
Examining The Cabinet Structure
Inspect the cabinet’s back panel, side panels, and shelf supports for any damage or weakness.

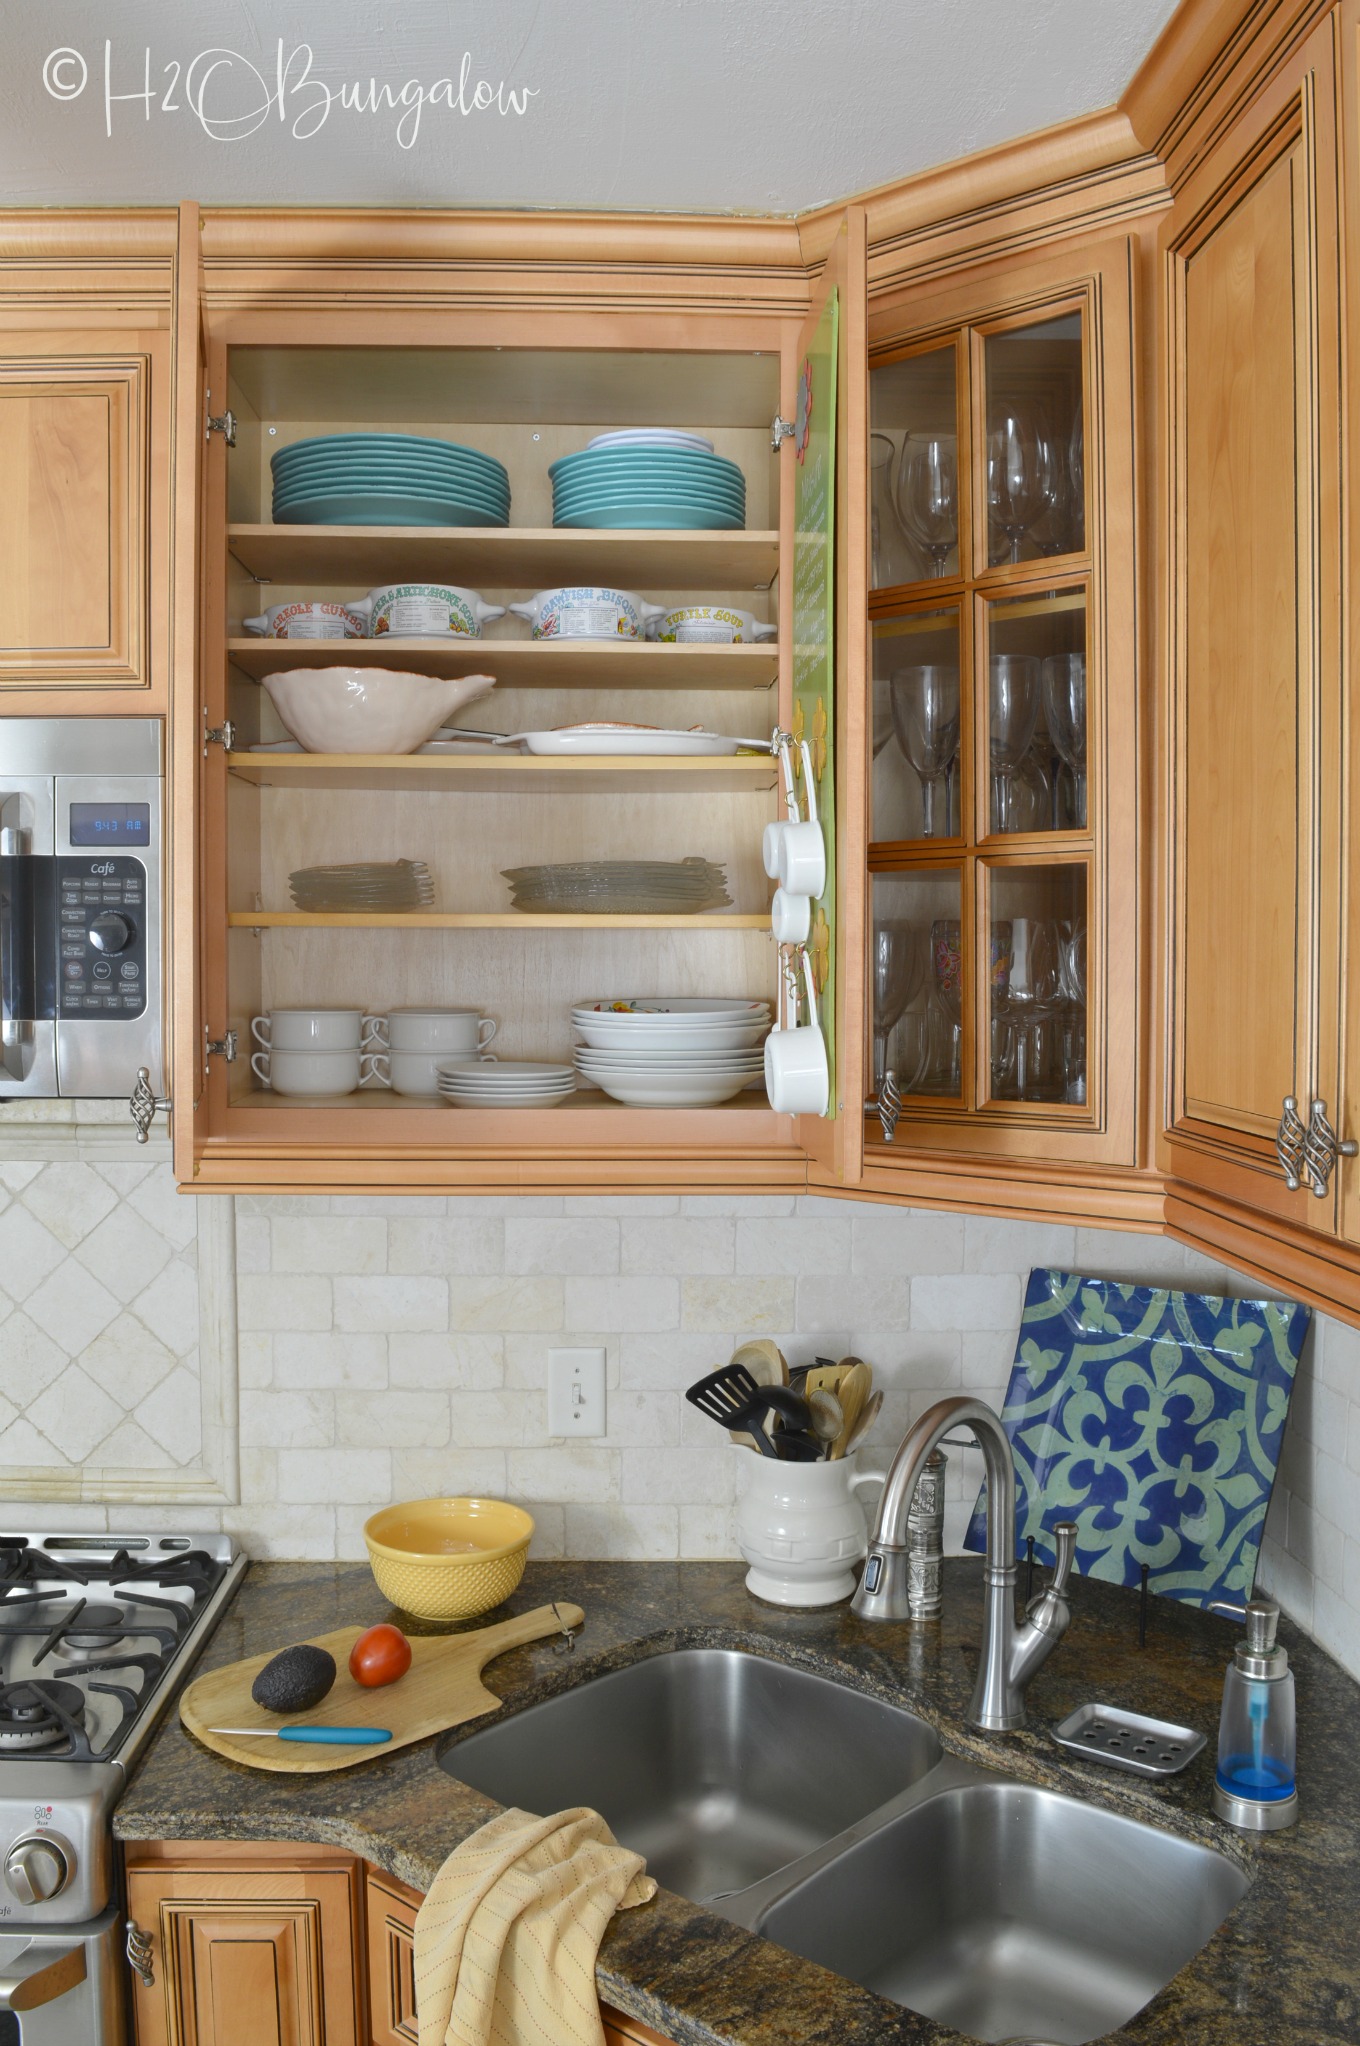
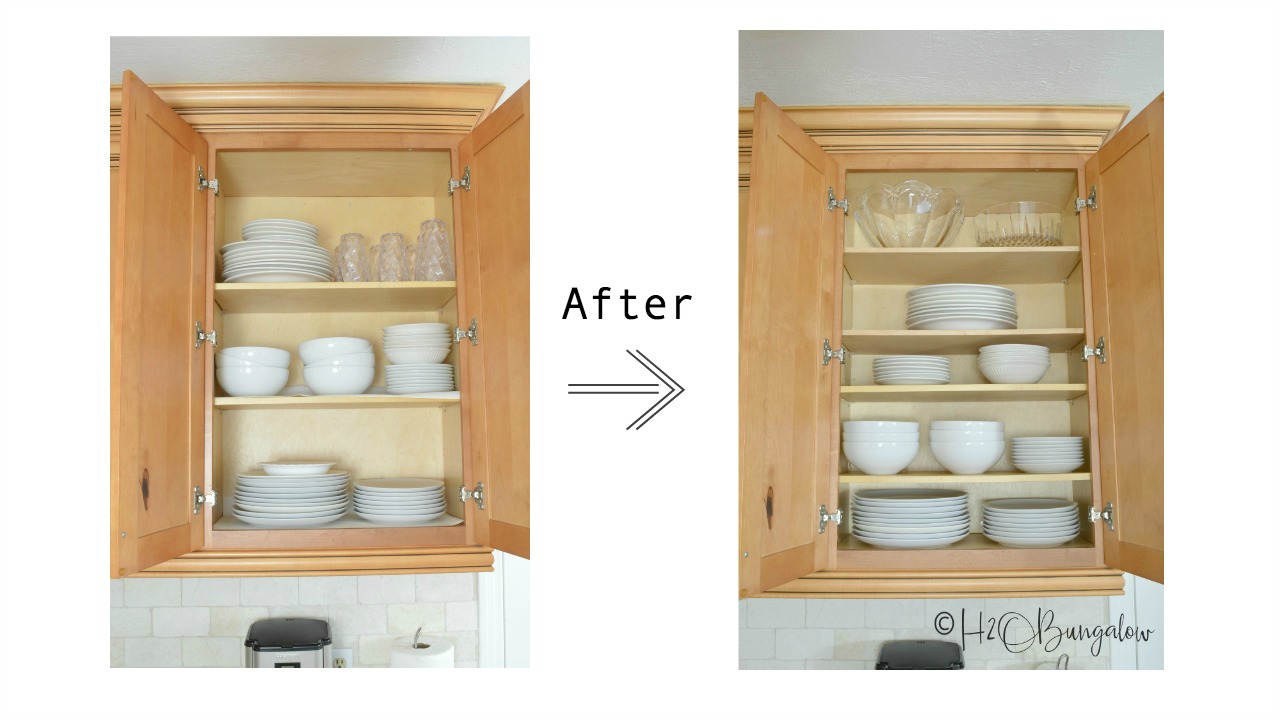
Credit: h2obungalow.com
Choosing The Shelves
To add shelves to an existing cabinet, choosing the right shelves is crucial. Understanding the shelf material and selecting the perfect size are key steps in this process.
Determining The Shelf Material
When determining the shelf material for your cabinet, consider the following options:
- Wood: Ideal for a classic look and can be customized to match your cabinet.
- Glass: Adds a modern touch and creates a sense of openness.
- Metal: Durable and perfect for a contemporary or industrial style.
Selecting The Right Shelf Size
To select the right shelf size, measure the interior dimensions of your cabinet carefully. Make sure to:
- Measure Twice: Double-check your measurements to ensure accuracy.
- Consider Depth: Choose a depth that accommodates your items without wasting space.
- Adjustable Shelves: Opt for adjustable shelves for added flexibility.
Preparing The Cabinet
Before adding shelves to your existing cabinet, it is important to properly prepare the cabinet to ensure a smooth and successful installation process. This involves removing the cabinet contents, as well as cleaning and emptying the cabinet to create a clean and organized space for the new shelves.
Removing The Cabinet Contents
Start by removing all the items stored in the cabinet. Take out dishes, utensils, or any other items that might be stored there. Place them in a safe location to prevent any damage or breakage during the process.
Cleaning And Emptying The Cabinet
Once the contents are removed, it’s time to clean and empty the cabinet. Use a damp cloth or sponge to wipe down the interior of the cabinet, removing any dust, dirt, or food particles. Make sure to clean the shelves, walls, and the bottom of the cabinet thoroughly.
- Remove any shelf liners or adhesive residues, if present, using a scraper or gentle adhesive remover.
- Inspect the cabinet for any signs of damage or wear and tear. If there are any issues, such as loose hinges or cracked surfaces, consider repairing them before proceeding with adding the shelves.
- Measure the cabinet space accurately to determine the dimensions of the shelves you will need to add. This step is crucial in ensuring the shelves fit securely and optimally within the cabinet.
- Consider applying a fresh coat of paint or varnish to the interior surfaces of the cabinet to give it a renewed and polished look.
Once the cabinet is cleaned, empty, and in good condition, you are now ready to move on to the next step of adding shelves to your existing cabinet.

Credit: m.youtube.com
Measuring And Marking
When adding shelves to existing cabinets, the process starts with measuring and marking the desired shelving positions. Proper measurements and accurate marking are crucial to ensure the shelves fit well and are level. In this segment, we’ll cover the essential steps for measuring the desired shelf positions and then marking the cabinet walls accordingly.
Measuring The Desired Shelf Positions
Before diving into the installation process, it’s vital to determine the exact positions where the shelves will be placed within the cabinet. To ensure a symmetrical layout, measure the width and depth of the cabinet interior. Use a tape measure to carefully determine these dimensions, keeping them on hand for the next stage of the process.
Marking The Cabinet Walls
Using a pencil and a level, begin marking the cabinet walls at the measured positions where the shelves will be positioned. Start with the cabinet’s vertical walls, using the measurements as a guide for where the shelf supports will be positioned. Ensure the markings are precise and level to guarantee the shelves will sit evenly within the cabinet.
Installing The Shelves
When it comes to installing shelves in an existing cabinet, it’s important to tackle each step with precision. This allows for a functional and visually appealing end result. In this section, we will delve into the process of installing the shelves, covering the attachment of shelf brackets and placing the shelves in position.
Attaching Shelf Brackets
Before inserting the shelves, the shelf brackets need to be attached securely. Use a measuring tape and pencil to mark the placement of the brackets on the inside walls of the cabinet. Ensure they are level and evenly spaced. Screw the brackets in place, making sure they are firmly anchored to support the weight of the shelves. Verify their sturdiness before proceeding to the next step.
Placing The Shelves In Position
With the shelf brackets securely installed, it’s time to position the shelves. Carefully lift each shelf and place it on top of the brackets. Verify that they are level and adjust if necessary. Make sure the shelves are equally spaced and aligned for a polished look. Once in position, test their stability and make any final adjustments before organizing the contents of the cabinet.
Finishing Touches
When it comes to adding shelves to an existing cabinet, the finishing touches are essential to ensure a functional and organized space. This is where you can put the final touches on your project and make it visually appealing. In this section, we will cover the key steps to secure the shelves and how to effectively organize and store your items in the cabinet.
Securing The Shelves
Securing the shelves is crucial to prevent them from falling or shifting when you place items on them. To secure the shelves, follow these steps:
- Measure the height of the cabinet and mark the desired shelf positions on the cabinet walls.
- Use a stud finder to locate the studs behind the walls. This will ensure that you can anchor the shelves securely.
- Pre-drill holes into the cabinet walls and insert wall anchors into the holes. These anchors will provide additional support for the shelves.
- Place the shelves onto the shelf brackets and use screws or brackets to secure them to the cabinet walls. Make sure to use the appropriate length of screws to secure the shelves firmly.
- Double-check the stability of the shelves by giving them a gentle shake. If they are secure, proceed to the next step.
Organizing And Storing Items
Now that the shelves are securely in place, it’s time to organize and store your items efficiently. Here are some tips to help you make the most of your cabinet space:
- Group similar items together – This will make it easier to find what you need and keep the cabinet organized.
- Use storage containers or bins – Utilize storage containers or bins to keep smaller items organized and easily accessible.
- Label the containers – Labeling containers will help you quickly identify the contents without having to open each one.
- Adjust shelf heights – If you have items of varying heights, adjust the shelf heights accordingly to maximize the available space.
- Utilize vertical space – Install hooks or hanging shelves on the inside of the cabinet doors to utilize vertical space for storing smaller items.
By following these simple tips, you can transform your existing cabinet into an organized and functional space that meets your storage needs. The finishing touches of securing the shelves and organizing your items will ensure that your cabinet is not only practical but also visually pleasing.
Frequently Asked Questions For How To Add Shelves To Existing Cabinet
How Can I Add Shelves To An Existing Cabinet?
You can add shelves to an existing cabinet by measuring the space, determining shelf placement, and installing shelf brackets. Use a stud finder to locate wall studs for secure support. Then, attach the brackets and shelves, ensuring they are level and secure for functional and aesthetic appeal.
What Tools Are Needed To Add Shelves To A Cabinet?
To add shelves to a cabinet, you will need a measuring tape, shelf brackets, a level, screws, a power drill or screwdriver, and a stud finder. These tools will help you accurately measure, secure, and install the shelves in the existing cabinet for a professional finish.
Can I Customize The Size Of The Shelves For My Cabinet?
Yes, you can customize the size of the shelves for your cabinet. Measure the interior dimensions of the cabinet and cut the shelves to the desired dimensions using a saw. Ensure the shelves fit snugly within the cabinet while allowing convenient access to stored items for practical use.
Conclusion
Adding shelves to existing cabinets is a simple and cost-effective way to maximize storage space in your home. By following a few easy steps and using basic tools, you can create additional shelving to organize and display your belongings. Whether it’s in the kitchen, bathroom, or any other room, this DIY project allows you to customize the height and position of your shelves, giving you functional and stylish storage solutions.
So go ahead and transform your cabinets into efficient and organized spaces for all your essentials. Happy building!
{ “@context”: “https://schema.org”, “@type”: “FAQPage”, “mainEntity”: [ { “@type”: “Question”, “name”: “How can I add shelves to an existing cabinet?”, “acceptedAnswer”: { “@type”: “Answer”, “text”: “You can add shelves to an existing cabinet by measuring the space, determining shelf placement, and installing shelf brackets. Use a stud finder to locate wall studs for secure support. Then, attach the brackets and shelves, ensuring they are level and secure for functional and aesthetic appeal.” } } , { “@type”: “Question”, “name”: “What tools are needed to add shelves to a cabinet?”, “acceptedAnswer”: { “@type”: “Answer”, “text”: “To add shelves to a cabinet, you will need a measuring tape, shelf brackets, a level, screws, a power drill or screwdriver, and a stud finder. These tools will help you accurately measure, secure, and install the shelves in the existing cabinet for a professional finish.” } } , { “@type”: “Question”, “name”: “Can I customize the size of the shelves for my cabinet?”, “acceptedAnswer”: { “@type”: “Answer”, “text”: “Yes, you can customize the size of the shelves for your cabinet. Measure the interior dimensions of the cabinet and cut the shelves to the desired dimensions using a saw. Ensure the shelves fit snugly within the cabinet while allowing convenient access to stored items for practical use.” } } ] }
