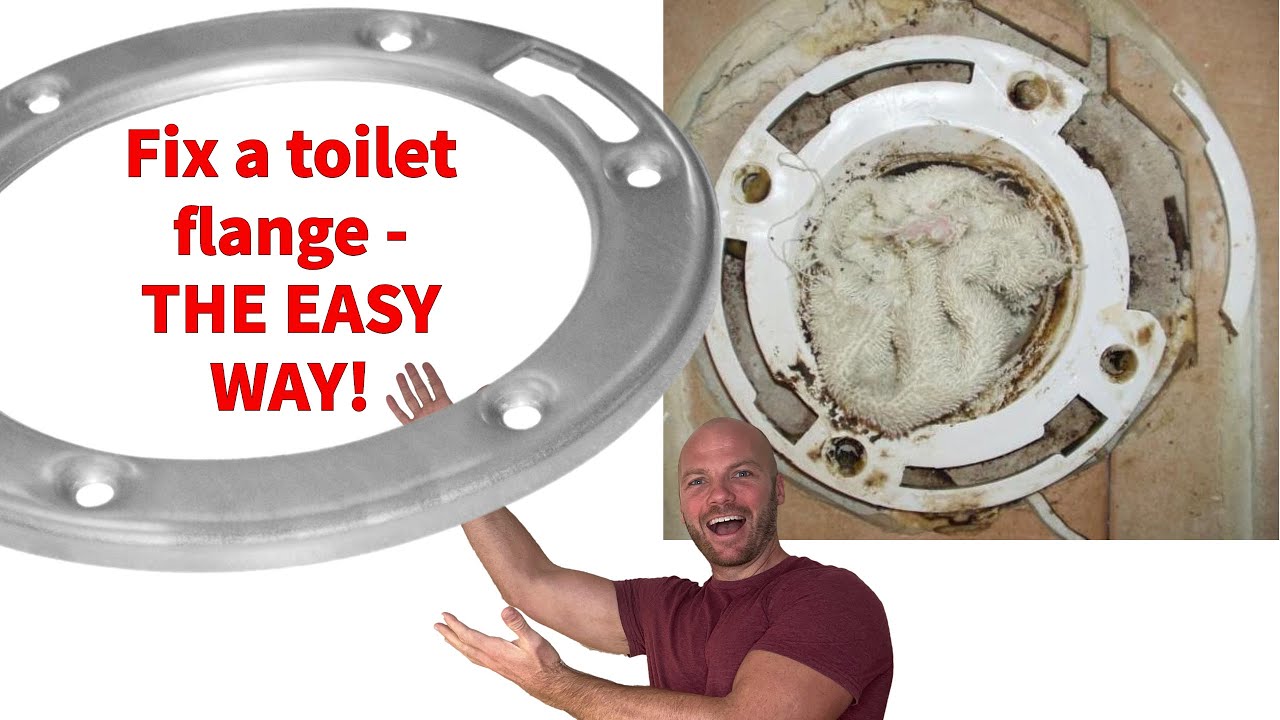
To fix a broken closet flange, start by removing the toilet and cleaning the area. Next, use a repair kit or replace the flange and secure it with new screws.
Fixing a broken closet flange is a common plumbing problem that can be easily resolved with the right tools and techniques. By following a few simple steps, you can save time and money by fixing the issue yourself. We will discuss the common causes of a broken closet flange, the tools and materials needed for the repair, and a step-by-step guide to fixing the problem.
Whether you are a DIY enthusiast or a homeowner looking to tackle a plumbing issue, this guide will provide you with the necessary information to fix a broken closet flange effectively.
Identifying The Problem
When dealing with a broken closet flange, the first step is identifying the problem. Understanding the closet flange is crucial before recognizing the signs of damage.
Understanding The Closet Flange
A closet flange is a crucial component of a toilet that connects the drainpipe to the floor. It provides stability and support for the toilet fixture.
Signs Of A Broken Closet Flange
- Unstable Toilet: If the toilet wobbles or shifts, it may indicate a broken closet flange.
- Leaking around the Base: Water pooling around the base of the toilet can point to a damaged flange.
- Foul Smell: A persistent sewage odor in the bathroom may be a sign of a broken closet flange.
- Visible Damage: Cracks or breaks in the flange are clear indicators of a problem.
Gathering The Tools And Materials
Essential Tools
- Screwdriver
- Adjustable wrench
- Hacksaw
- Tape measure
Materials Needed
| Material | Quantity |
|---|---|
| PVC closet flange | 1 |
| PVC primer and cement | 1 each |
| New closet bolts | 2 |
Make sure to have all these tools and materials ready before starting the repair process.
Removing The Toilet
When fixing a broken closet flange, start by removing the toilet to access the damaged area easily. Disconnect the water supply, unscrew the bolts, and lift the toilet off the flange to begin repairs. This process is crucial for successfully repairing a broken closet flange.
Removing the Toilet Before you can begin repairing a broken closet flange, it is essential to first remove the toilet. This process involves shutting off the water supply, draining the toilet, and finally removing it. By following these steps carefully, you can quickly and effectively remove the toilet without any hassle. Read on to learn more about the process.Shutting Off The Water Supply
To start the process of removing the toilet, you must first shut off the water supply. Locate the water shut-off valve, usually situated behind or near the toilet. Turn the valve clockwise until it is fully closed, effectively stopping the water flow to the toilet tank. This step ensures that water does not overflow or create a mess when you proceed with removing the toilet.Draining The Toilet
After shutting off the water supply, the next step is to drain the toilet. To do this, lift the toilet lid and locate the flapper valve inside the toilet tank. Pressing down on the flapper valve with a firm but gentle motion will allow the water inside the tank to drain into the toilet bowl. This step must be repeated until the tank is empty. Once the tank is drained, flush the toilet to remove any remaining water in the bowl. It’s important to note that there might be a small amount of residual water left, but don’t worry, it won’t hinder the next steps of removing the toilet. Now that you have shut off the water supply and drained the toilet, you can proceed with actually removing it. Start by disconnecting the water supply line, which is typically connected to the bottom of the toilet tank. Carefully unscrew the nut connecting the supply line to the fill valve, and ensure to catch any water drips with a towel or bucket. Next, remove the bolts securing the toilet to the floor. These bolts are usually located at the base and can be unscrewed using a wrench. Once the bolts are removed, gently rock the toilet back and forth to loosen it from the wax seal beneath. With caution, lift the toilet straight up to detach it from the wax seal and clear it from the flange. Be careful not to damage the flange or the surrounding flooring during this process. Place the toilet in a safe and stable area while you continue with the repair work. By following these steps, you can successfully remove the toilet in preparation for fixing a broken closet flange. The next steps would involve inspecting and repairing the broken flange. Stay tuned for our upcoming blog post on that topic!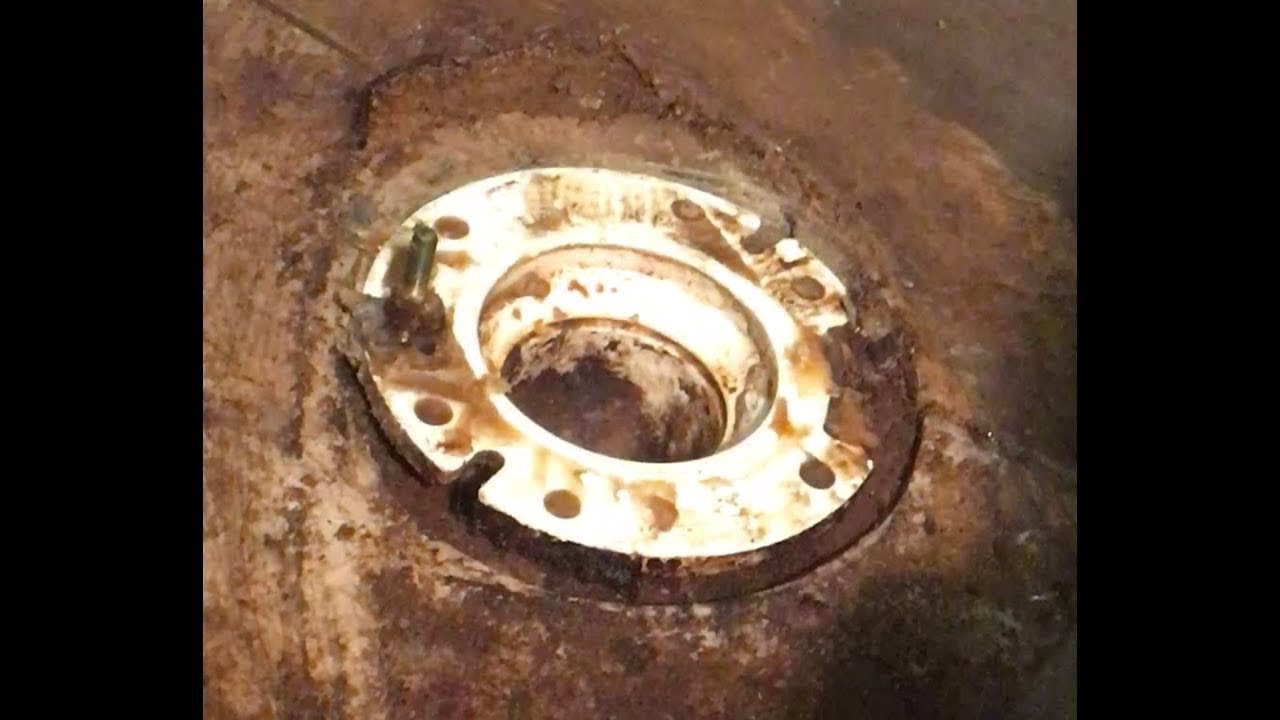
Credit: m.youtube.com
Inspecting The Closet Flange
When it comes to repairing a broken closet flange in your bathroom, the first step is to inspect the extent of the damage. Inspecting the closet flange will allow you to assess the level of repair needed and determine the type of flange you have, which is crucial for the fixing process. Below, we’ll cover the crucial steps in inspecting the closet flange to ensure a successful repair.
Assessing The Damage
Before starting the repair process, carefully assess the damage to the closet flange. Check for cracks, breaks, or any signs of wear and tear that may have rendered it ineffective. Ensure that the surrounding flooring and pipes are also intact and unaffected.
Identifying The Type Of Flange
The type of flange is an essential factor to consider when fixing a broken closet flange. There are two primary types: cast iron and PVC. It’s crucial to identify the type of flange before proceeding with the repair, as each type requires different repair techniques and materials. A PVC flange can be identified by its plastic material, while a cast iron flange is made of metal.
Repairing Or Replacing The Closet Flange
When fixing a broken closet flange, it’s important to assess the extent of damage. Repairing a damaged flange may involve using a repair kit and epoxy, while replacing a severely damaged flange requires removing the toilet and installing a new flange.
It’s essential to follow the correct steps to ensure a secure and functional repair.
Repairing or Replacing the Closet Flange Sometimes, a broken or damaged closet flange can cause water leakage or instability in your toilet. In such cases, it’s essential to either repair or replace the closet flange to ensure the proper functioning of your toilet. Here’s a comprehensive guide on how to address this issue, covering both repairing a cracked flange and replacing a damaged one. Repairing a cracked flange When dealing with a cracked flange, you can attempt to fix it using a repair kit specifically designed for this purpose. The kit usually includes a repair plate, screws, and adhesive. Here’s a step-by-step process to repair a cracked flange: 1. Start by cleaning the area around the crack to ensure adhesion. 2. Apply the adhesive to the cracked areas, following the instructions provided in the repair kit. 3. Secure the repair plate over the crack with the provided screws, ensuring a tight fit. 4. Allow the adhesive to dry completely before proceeding to reattach the toilet. Replacing a damaged flange In some cases, a damaged flange may be beyond repair, necessitating a complete replacement. Here’s how to replace a damaged closet flange: 1. Begin by turning off the water supply to the toilet and removing the toilet from the flange. 2. Unscrew and remove the damaged flange from the drain pipe, ensuring the area is clean and free of any debris. 3. Measure the diameter of the drain pipe to ensure you select the correct replacement flange size. 4. Install the new flange onto the drain pipe and secure it in place using the appropriate screws or bolts. 5. Reattach the toilet to the new flange, ensuring a secure and watertight connection before turning the water supply back on. By following these steps, you can effectively address a broken or damaged closet flange, restoring the stability and functionality of your toilet.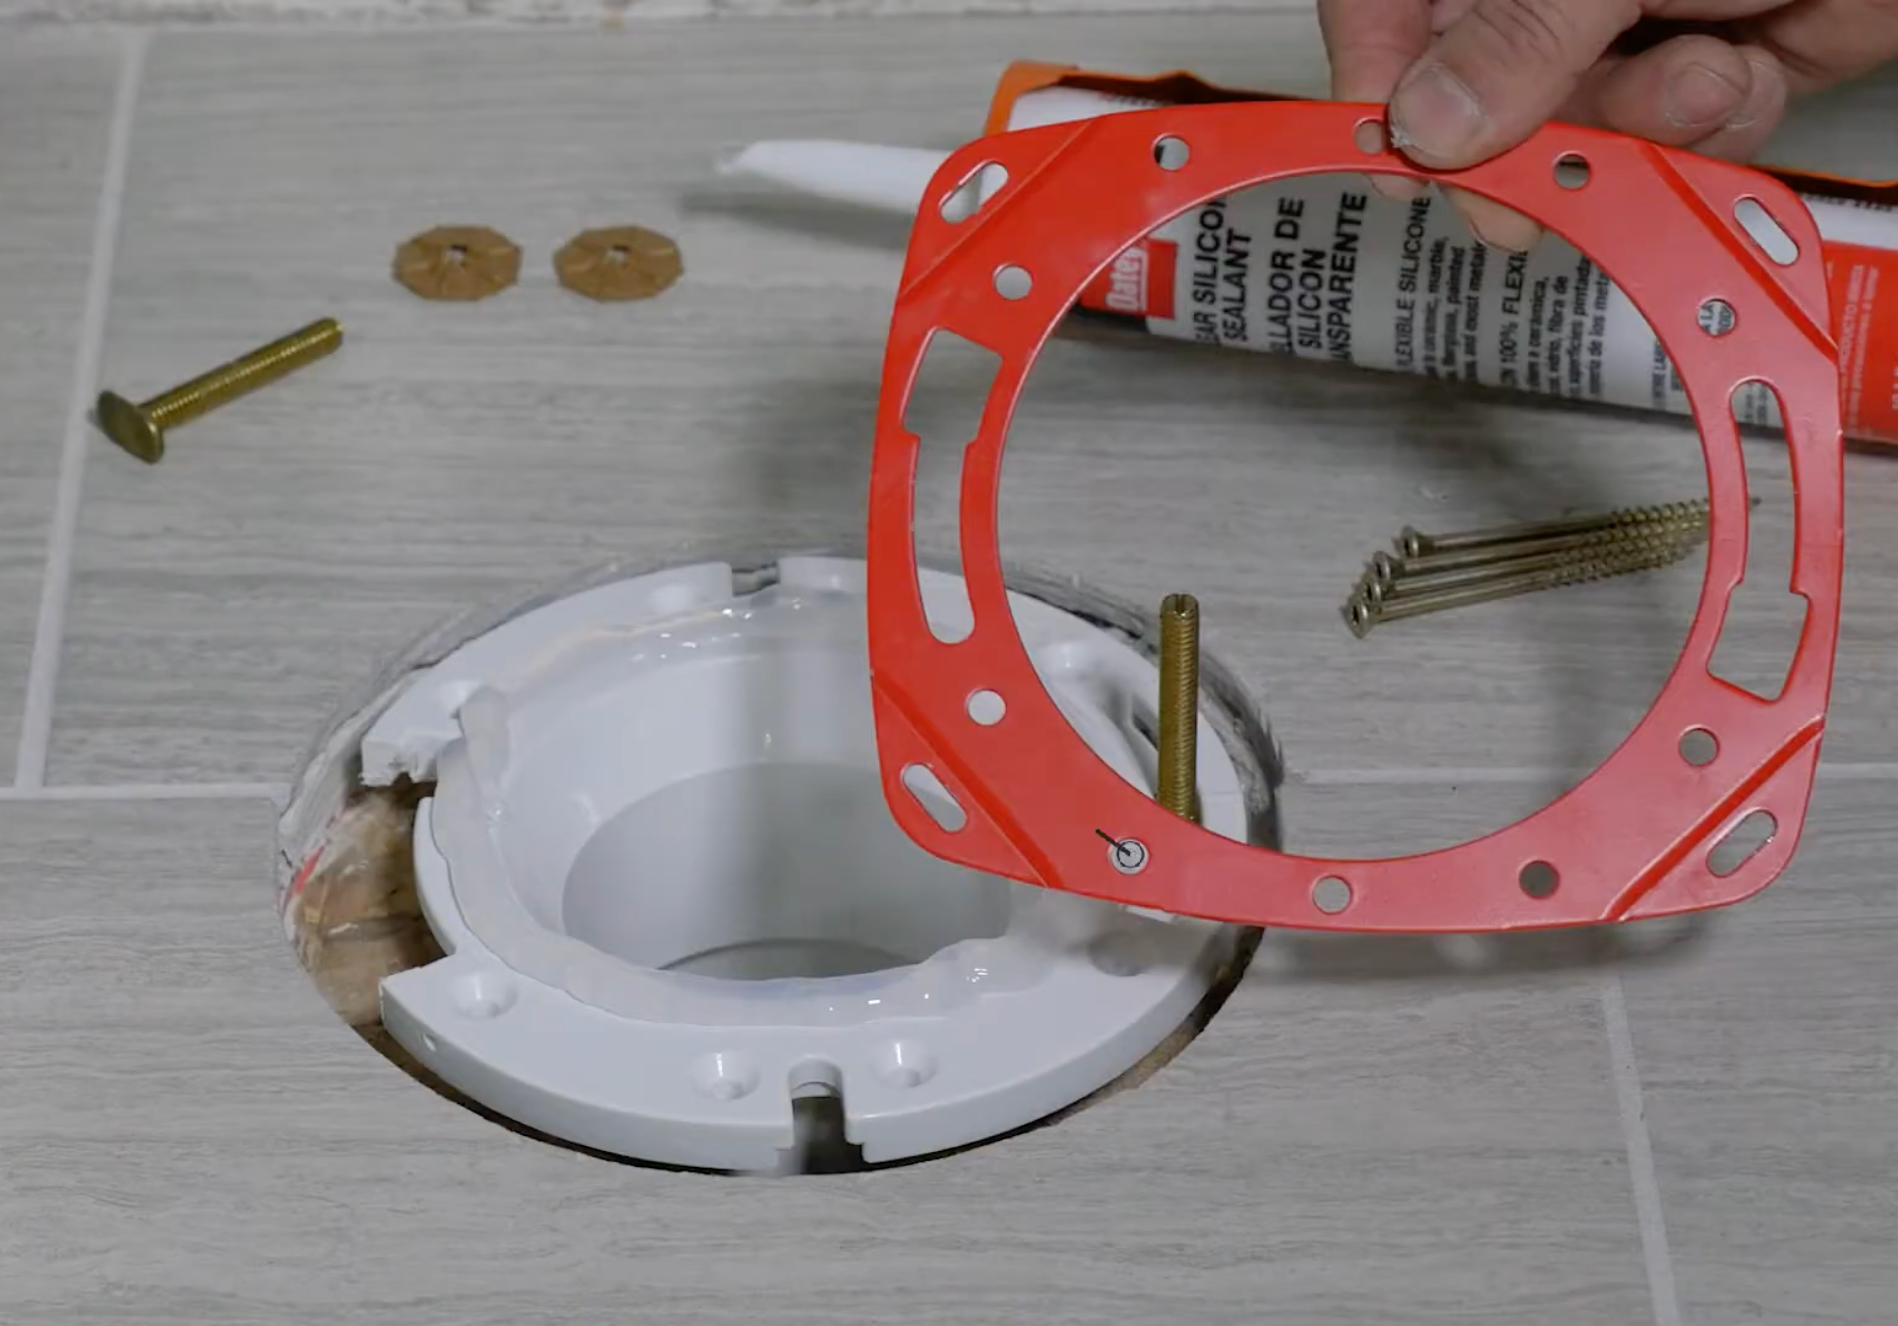
Credit: www.oatey.com
Reinstalling The Toilet
Learn how to fix a broken closet flange by reinstalling the toilet. Follow these easy steps to ensure a proper repair and avoid any future issues with your toilet.
After successfully fixing a broken closet flange, the next step is to reinstall the toilet. This process involves preparing the area, installing a new wax ring, and securing the toilet in place. By following these steps, you can ensure that your toilet is properly reinstalled and functioning smoothly. Let’s dive into the details.Preparing The Area
Before reinstalling the toilet, it’s important to prepare the area properly. Start by thoroughly cleaning the toilet flange and the bottom of the toilet bowl. Remove any old wax residue and inspect the flange for any damage or cracks. Make sure the flange is securely attached to the floor.Installing A New Wax Ring
Once the area is prepared, it’s time to install a new wax ring. The wax ring creates a watertight seal between the toilet flange and the toilet base. Place the wax ring on the flange, ensuring it is centered and properly aligned. Gently press down on the toilet bowl to compress the wax ring and create a tight seal.Securing The Toilet
With the wax ring in place, it’s time to secure the toilet. Carefully lift the toilet bowl and align it with the bolts on the flange. Lower the toilet bowl onto the wax ring, ensuring it is straight and level. Using a wrench, tighten the bolts on each side of the toilet bowl, alternating between sides to secure the toilet evenly. Be careful not to over-tighten the bolts, as it could crack the toilet bowl or damage the flange. Once the toilet is secure, reconnect the water supply line and turn on the water to fill the tank. Finally, flush the toilet to make sure there are no leaks and that everything is functioning properly. Reinstalling the toilet after fixing a broken closet flange can seem like a daunting task, but by following these steps, you can ensure a successful installation. Now that your toilet is securely reinstalled, you can enjoy a fully functional bathroom once again.Testing For Leaks
Testing for Leaks: Once the closet flange is securely fixed, it’s crucial to test for leaks before completing the repair process.
Turning On The Water Supply:
Slowly turn on the water supply to the toilet to allow water to flow through the repaired closet flange.
Checking For Leaks:
- Monitor the area around the closet flange for any signs of water leakage.
- Inspect for droplets or pooling water underneath the flange to ensure there are no leaks.
- If leaks are detected, reevaluate the tightening of the installation to prevent further issues.
Credit: www.reddit.com
Frequently Asked Questions For How To Fix A Broken Closet Flange
How Do I Know If My Closet Flange Is Broken?
If you notice movement or tilting of the toilet, or hear a rocking noise when you sit down, it may indicate a broken closet flange. A thorough inspection around the base of the toilet may reveal cracks or damage to the flange.
Can I Fix A Broken Closet Flange Myself?
Yes, a broken closet flange can be fixed using a repair kit or by replacing the flange. It’s important to follow instructions carefully and ensure a secure and watertight fit to prevent future damage.
What Tools Do I Need To Fix A Broken Closet Flange?
You’ll need a repair kit or a new flange, a screwdriver, a hacksaw, a wrench, and a wax ring. Additionally, you may require a utility knife, a putty knife, and a toilet flange extension kit if the flange is below floor level.
Is It Necessary To Replace The Wax Ring When Fixing A Closet Flange?
Yes, it is recommended to replace the wax ring when fixing a closet flange. This ensures a proper seal between the toilet and the flange, preventing leaks and ensuring a secure and hygienic installation.
Conclusion
Fixing a broken closet flange is a relatively simple task that can save you money and prevent further damage. By following the steps outlined in this blog post, you can confidently tackle this repair yourself. Remember to carefully assess the extent of the damage, gather the necessary tools, and use appropriate techniques to ensure a successful fix.
Taking care of your closet flange promptly will help maintain the functionality and longevity of your plumbing system.
{ “@context”: “https://schema.org”, “@type”: “FAQPage”, “mainEntity”: [ { “@type”: “Question”, “name”: “How do I know if my closet flange is broken?”, “acceptedAnswer”: { “@type”: “Answer”, “text”: “If you notice movement or tilting of the toilet, or hear a rocking noise when you sit down, it may indicate a broken closet flange. A thorough inspection around the base of the toilet may reveal cracks or damage to the flange.” } } , { “@type”: “Question”, “name”: “Can I fix a broken closet flange myself?”, “acceptedAnswer”: { “@type”: “Answer”, “text”: “Yes, a broken closet flange can be fixed using a repair kit or by replacing the flange. It’s important to follow instructions carefully and ensure a secure and watertight fit to prevent future damage.” } } , { “@type”: “Question”, “name”: “What tools do I need to fix a broken closet flange?”, “acceptedAnswer”: { “@type”: “Answer”, “text”: “You’ll need a repair kit or a new flange, a screwdriver, a hacksaw, a wrench, and a wax ring. Additionally, you may require a utility knife, a putty knife, and a toilet flange extension kit if the flange is below floor level.” } } , { “@type”: “Question”, “name”: “Is it necessary to replace the wax ring when fixing a closet flange?”, “acceptedAnswer”: { “@type”: “Answer”, “text”: “Yes, it is recommended to replace the wax ring when fixing a closet flange. This ensures a proper seal between the toilet and the flange, preventing leaks and ensuring a secure and hygienic installation.” } } ] }