To install a closet rod without drilling, use an over-the-door hanger or a tension rod. These options require no drilling and can support the weight of the rod and clothing.
If you need a temporary solution or want to avoid damaging walls, these methods are quick and easy to implement. With these simple alternatives, you can effortlessly create additional hanging space in your closet without the need for any power tools or hardware.
Whether you’re renting a space or want a non-permanent solution, installing a closet rod without drilling provides a convenient and practical storage solution. Read on to learn more about these easy installation methods and how they can benefit your organization needs.
Types Of Closet Rods
- Adjustable length rod that fits between two walls
- No drilling required, simply twist to secure
- Perfect for temporary or rented spaces
- Sticks to the wall with strong adhesive
- Easy to install and remove without damaging walls
- Works best on smooth, clean surfaces
- Attaches using suction cups to any smooth surface
- No drilling or adhesive needed
- Great for glass or tile surfaces in bathrooms
Choosing The Right Closet Rod
Choosing the Right Closet Rod:
Consider The Weight Capacity
Ensure the closet rod can support the weight of your clothing.
Evaluate The Durability
Check for rod material and durability to ensure long-lasting use.
Measure The Closet Dimensions
Measure the closet space to find the appropriate sized rod.
Preparation
Learn how to easily install a closet rod without drilling with simple techniques to prepare your space effectively. Follow these steps for a hassle-free solution to organizing your closet efficiently. Get started today with minimal effort and maximum impact on your storage solution.
Before you start installing a closet rod without drilling, it’s important to make proper preparations. This will ensure a smooth process and help you achieve the desired result. The preparation phase includes clearing out the closet and cleaning the area where the rod will be installed.
Clear Out The Closet
To begin, clear out the contents of your closet. This will give you ample space to work and prevent any damage to your belongings. Start by removing all clothing, hangers, shoes, and any other items that may be hanging or stored in the closet. You can either place them in another room temporarily or use this opportunity to declutter and organize your wardrobe. Remember, a clutter-free space will make it easier to install the closet rod.
Clean The Closet Area
Once the closet is empty, it’s time to clean the area where the rod will be installed. Use a duster or a microfiber cloth to remove any dust, spider webs, or debris from the walls, ceiling, and floor. This step is important as it will ensure a secure attachment for the rod without any interference. Additionally, cleaning the closet area will give your closet a fresh and neat look.
If you notice any stubborn stains or markings on the closet walls, you can use a mild detergent solution and a sponge to gently wipe them away. Ensure the area is completely dry before proceeding with the installation.
By properly clearing out the closet and cleaning the area, you are now ready to move on to the next steps of installing a closet rod without drilling. Stay tuned for our upcoming blog posts where we will discuss different methods and techniques to complete this project easily and efficiently!
:max_bytes(150000):strip_icc()/SPR-how-to-hang-curtains-without-drilling-5192697-part-02-step-05-ed467cb55c894f9dbb8480586b682e53.jpg)
Credit: www.thespruce.com
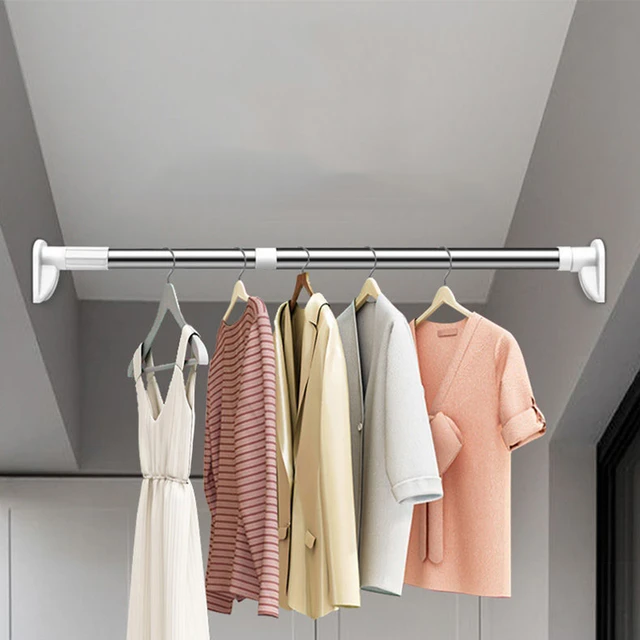
Installing A Tension Rod
When it comes to installing a closet rod without drilling, one effective method is using a tension rod. This method is straightforward and does not require any special tools or hardware.
Here’s a step-by-step guide to help you install a tension rod in your closet easily.
Measure And Mark The Placement
Before you begin, measure the width of your closet interior to determine the required length for the tension rod. Use a tape measure to get an accurate measurement. Then, mark the placement for the tension rod on both sides of the closet. Make sure the markings are level before proceeding to the next step.
Extend And Secure The Tension Rod
Next, extend the tension rod to the desired length by twisting it in a clockwise direction. Once you’ve reached the correct length, place each end of the tension rod into position, ensuring it fits securely within the marked placements. Apply gentle pressure to secure the rod in place. Double-check to ensure the rod is level and stable.
Installing An Adhesive Rod
Installing an adhesive rod is a simple and convenient way to add hanging space in a closet without the need for drilling. Whether you are renting or want to avoid damaging your walls, adhesive rods can provide a quick solution. Below are the steps to successfully install an adhesive rod in your closet:
Clean The Surface
Before applying the adhesive rod, ensure the surface where it will be installed is clean and dry. Use a mild household cleaner and a microfiber cloth to remove any dust, dirt, or grease. This step is essential for the adhesive to properly bond with the surface.
Apply And Secure The Adhesive Rod
Following the manufacturer’s instructions, measure the desired location for the adhesive rod and mark it with a pencil. Then, carefully apply the adhesive to the rod’s ends that will come in contact with the wall. Press the rod firmly onto the cleaned surface, making sure it is level and securely in place.
Installing A Suction Cup Rod
Looking to install a closet rod without drilling? Consider using a suction cup rod, which requires no tools or damaging your walls. Simply attach the suction cups to the desired location and hang your clothes with ease.
Choose A Suitable Surface
Before you can install a suction cup rod in your closet, you need to choose a suitable surface. The suction cups work best on smooth, non-porous surfaces such as glass, tile, or laminate. Make sure the surface is clean and dry to ensure maximum suction.
Attach And Test The Suction Cup Rod
Once you have selected the surface, it’s time to attach and test the suction cup rod. Follow these steps:
- Measure the desired height for your closet rod and mark the spot on the wall.
- Remove any protective covers or packaging from the suction cups.
- Moisten the inner side of the suction cup with water or rubbing alcohol to enhance suction.
- Press the suction cups firmly against the chosen surface, making sure they are aligned with the marked spot.
- Apply steady pressure to each suction cup to ensure a secure attachment.
- Let the suction cups sit undisturbed for a few minutes to allow them to create a strong seal.
- Once the suction cups feel secure, gently pull on the rod to test its stability. If it holds firm, you’re good to go!
Installing a suction cup rod in your closet without drilling is a convenient and temporary solution. Just remember to periodically check the suction cups’ grip to ensure your clothes stay organized and your closet rod stays in place.
Tips And Considerations
When installing a closet rod without drilling, there are important tips and considerations to keep in mind to ensure functionality and safety.
Check The Weight Capacity Regularly
Regularly assess the weight capacity of the closet rod to prevent any potential hazards.
Avoid Overloading The Rod
Avoid overloading the closet rod as it can lead to bending or detachment from the wall.
Ensure Proper Attachment For Safety
Ensure the closet rod is securely attached to the wall using appropriate installation methods for safety.

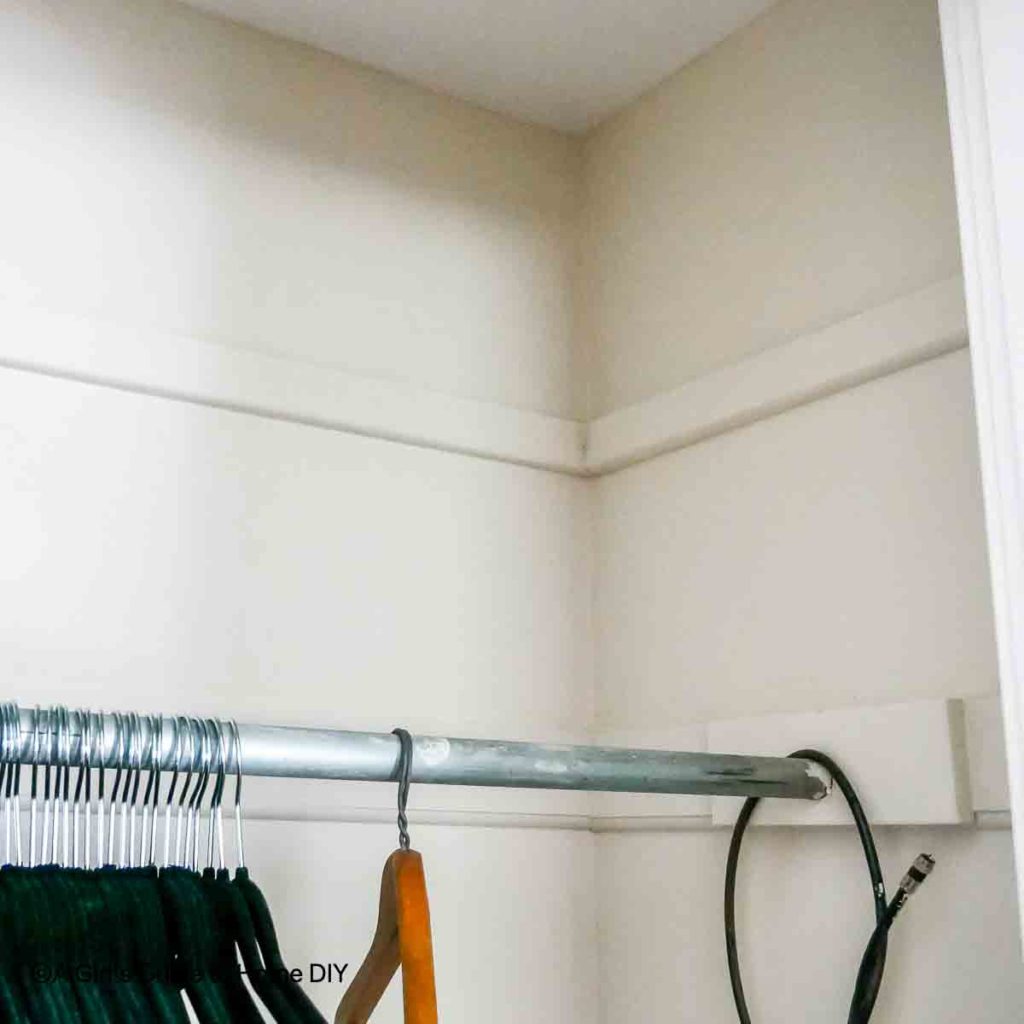
Credit: agirlsguidetohomediy.com

Credit: www.aliexpress.com
Frequently Asked Questions Of How To Install A Closet Rod Without Drilling
How Can I Install A Closet Rod Without Drilling Holes?
To install a closet rod without drilling, you can use tension-mounted rods or adhesive hooks, providing a secure and damage-free solution.
What Are The Alternative Methods For Installing A Closet Rod?
Alternative methods include using adjustable spring tension rods, 3M Command hooks, or freestanding garment racks for easy installation without drilling.
Are There Any Weight Limitations For Non-drill Closet Rod Options?
Yes, non-drill options have weight limitations. Tension rods are suited for lighter items, while adhesive hooks can support heavier loads with proper installation.
Conclusion
To conclude, installing a closet rod without drilling can be a simple and practical solution for organizing your space. By utilizing alternative methods such as tension rods and adhesive hooks, you can easily hang your clothes without causing any damage to your walls.
Remember to choose strong and reliable options that can withstand the weight of your garments. With these clever alternatives, you can enjoy a well-organized closet without the need for drilling. Happy organizing!
{ “@context”: “https://schema.org”, “@type”: “FAQPage”, “mainEntity”: [ { “@type”: “Question”, “name”: “How can I install a closet rod without drilling holes?”, “acceptedAnswer”: { “@type”: “Answer”, “text”: “To install a closet rod without drilling, you can use tension-mounted rods or adhesive hooks, providing a secure and damage-free solution.” } } , { “@type”: “Question”, “name”: “What are the alternative methods for installing a closet rod?”, “acceptedAnswer”: { “@type”: “Answer”, “text”: “Alternative methods include using adjustable spring tension rods, 3M Command hooks, or freestanding garment racks for easy installation without drilling.” } } , { “@type”: “Question”, “name”: “Are there any weight limitations for non-drill closet rod options?”, “acceptedAnswer”: { “@type”: “Answer”, “text”: “Yes, non-drill options have weight limitations. Tension rods are suited for lighter items, while adhesive hooks can support heavier loads with proper installation.” } } ] }
