
To install wire shelving upside down, simply flip the shelving unit so that the bottom becomes the top. Then follow the standard installation instructions in reverse.
Installing wire shelving upside down may seem unconventional, but it can offer a unique and functional storage solution. By flipping the shelving unit, you can create a new way to organize items and maximize space. Whether you’re looking to optimize storage in a pantry, garage, or closet, installing wire shelving upside down can provide a creative and efficient solution.
We’ll explore the benefits of this installation method, provide step-by-step instructions for flipping the shelving, and offer tips for organizing your belongings once the upside-down shelving is in place. Whether you’re a DIY enthusiast or simply seeking innovative storage options, installing wire shelving upside down may be the solution you’ve been searching for.
Tools Needed
To install wire shelving upside down, you’ll need a few essential tools. Below are the tools needed:
Level
A level is crucial for ensuring your wire shelving is installed straight and even.
Drill
A drill will be needed to create holes for mounting and securing the wire shelving.
Screwdriver
A screwdriver is necessary for driving screws into place to securely fasten the wire shelving.
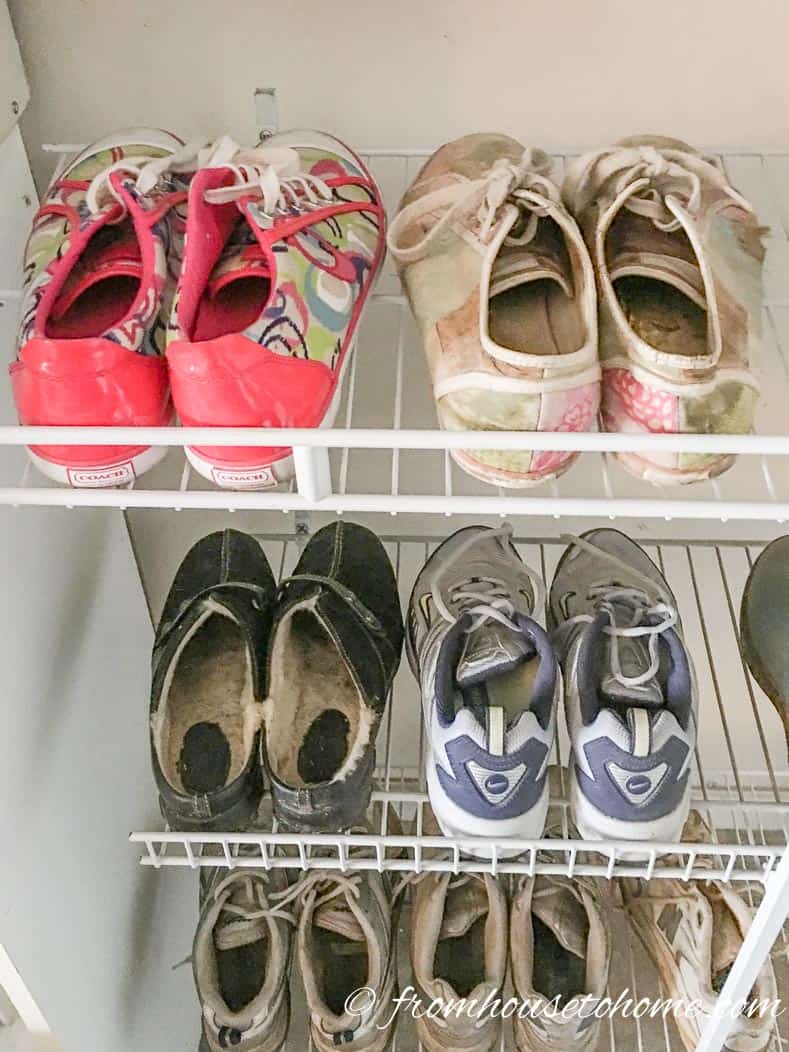
Credit: www.fromhousetohome.com
Choosing The Right Shelving
Explore the innovative approach of installing wire shelving upside down to optimize space utilization and enhance functionality. This unconventional method offers versatility in organizing items efficiently, making it a wise choice for maximizing storage solutions in various settings.
Choosing the Right Shelving H3 headings must be in HTML syntax. Consider weight capacity Measurements and space Selecting wire shelving for your upside-down installation project starts with determining the weight it can support. Weight Capacity: – Post-installation weight should be within the manufacturer’s specified limits. – Confirming weight capacity before installation ensures safety and durability. Measurements and Space: – Measure the area where the shelving will be installed to ensure a proper fit. – Consider space between shelves for easy access to items and to avoid overcrowding. Ensuring the shelving you choose can support the intended weight and fit your space correctly is crucial for a successful installation.Preparing The Area
To install wire shelving upside down, start by preparing the area by clearing out any items to avoid obstructions. This ensures a smooth installation process and allows for easy access to the space for mounting the shelves securely.
Preparing the area for installing wire shelving upside down is an essential step to ensure a successful installation. This involves removing the existing shelf and cleaning the area thoroughly. By following these steps, you can create a sturdy and functional storage solution in your space.Remove Existing Shelf
Start by removing any existing shelves that may be in the space where you plan to install the wire shelving. This will create a clean slate for your new installation. Carefully unscrew or detach the old shelf from the wall or brackets, ensuring no damage is done to the surrounding area.Clean The Area
After removing the old shelf, it’s crucial to clean the area before installing the wire shelving upside down. This will ensure a reliable and long-lasting installation. Use a mild cleaner or warm soapy water to remove any dust, dirt, or grime from the wall surface or brackets. Dry the area thoroughly with a clean cloth to prevent moisture buildup, which could lead to damage or rust over time. By taking the time to properly prepare the area, you can ensure a smooth installation process and improve the overall durability of your wire shelving. Remember to remove the existing shelf and clean the area thoroughly before moving on to the next steps. With a clean and well-prepared space, you’ll be ready to install the wire shelving upside down and enjoy the benefits of a well-organized storage solution.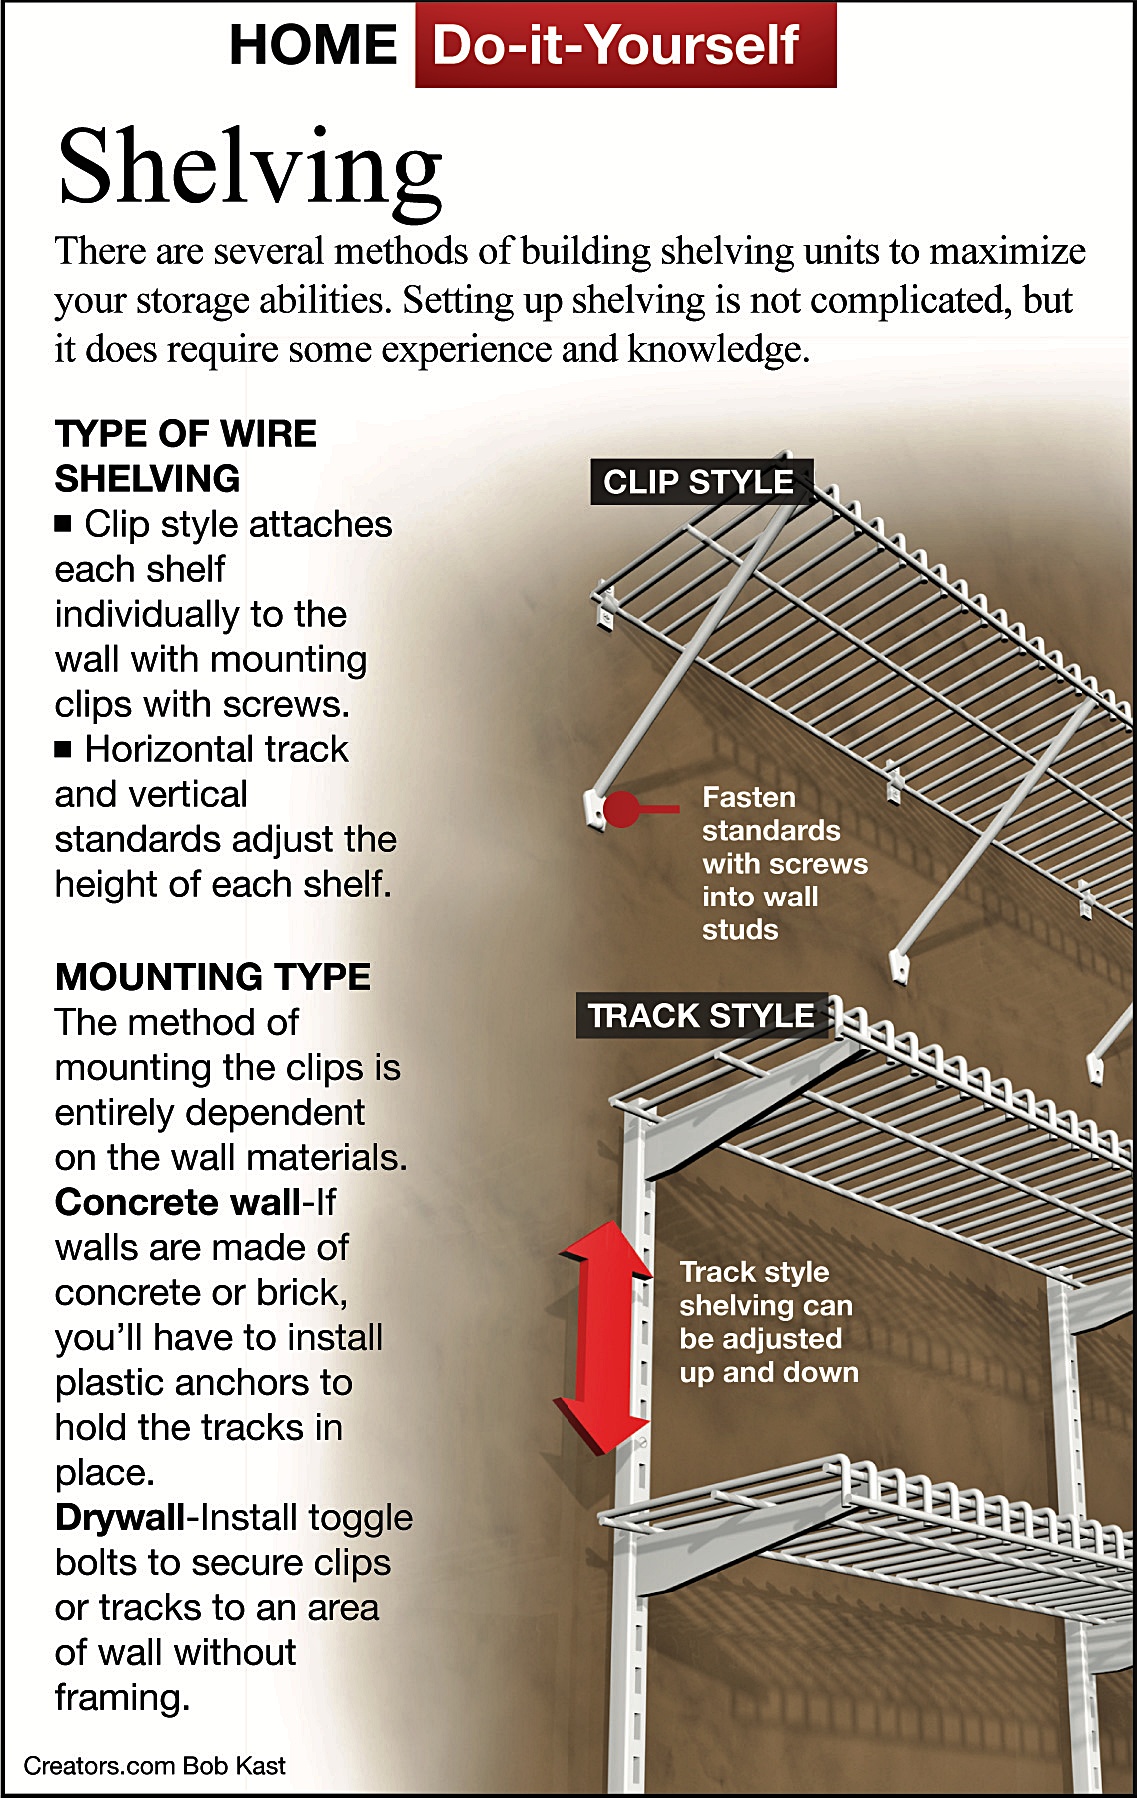
Credit: www.noozhawk.com
Installing The Brackets
When it comes to installing wire shelving upside down, the first crucial step is to properly install the brackets. By following these simple steps, you can ensure proper installation and maximize the functionality of your shelving system.
Marking The Wall
To start, mark the wall where you want to install the brackets using a pencil and a level. It’s important to ensure that the marks are aligned and at the appropriate height for your specific shelving needs.
Attaching The Brackets
Begin by attaching the brackets to the wall at the marked locations using the appropriate hardware, such as screws and anchors. Make sure to securely fasten each bracket to the wall to provide a stable foundation for your wire shelving.
Attaching The Shelves
Install wire shelving upside down by attaching the shelves to the underside of the support brackets. Ensure the shelves are level before securing them in place. Use a level to ensure accuracy and make necessary adjustments before tightening the screws.
Inserting The Shelves
“` When attaching wire shelving upside down, inserting the shelves is a crucial step that requires precision and proper alignment. Start by placing the shelves upside down on a clean, flat surface. Ensure that the shelves are positioned at the correct spacing as per the manufacturer’s instructions. To insert the shelves, slide them into the slots on the framework, taking care to maintain their level and balance. “`htmlSecuring The Shelves
“` Following the insertion of the shelves, the next step in installing wire shelving upside down involves securing the shelves in place. Use the appropriate hardware and fasteners provided by the manufacturer to firmly attach the shelves to the framework. Secure each corner of the shelf to the framework to ensure stability and prevent any slippage or dislodging of the shelves. Double-check the alignment and positioning of each shelf to guarantee a secure and stable installation. The proper installation of wire shelving upside down is crucial for its stability and functionality. Ensuring that the shelves are securely attached is vital for the overall performance of the shelving system.Finishing Touches
When it comes to installing wire shelving upside down, paying attention to the finishing touches is crucial. These final steps will not only ensure that the shelving is securely installed but also help you organize your items effectively. In this section, we will discuss two important finishing touches: checking for level and organizing the shelving.
Check For Level
Before you start organizing your items on the wire shelving, it is essential to check if the shelves are level. This step is crucial for both the stability of the shelving unit and the overall aesthetics. Here’s how you can do it:
- Using a spirit level, place it horizontally on each shelf surface.
- Adjust the shelving unit’s position until the bubble in the spirit level is centered.
- Repeat this process for each shelf, ensuring that all shelves are level.
Organizing The Shelving
Once you have confirmed that the wire shelving is level, it’s time to organize your items efficiently. Here are some tips to make the most out of your upside-down wire shelving:
- Categorize your items: Start by grouping similar items together. For example, kitchen utensils can be stored on one shelf, while cleaning supplies can occupy another shelf.
- Utilize bins and baskets: Use small bins or baskets to keep loose items organized. This will not only prevent clutter but also make it easier to find what you need.
- Label everything: To maintain a well-organized shelving system, consider labeling each bin or basket. This will save you time and effort when searching for specific items in the future.
- Maximize vertical space: Wire shelving allows you to take advantage of vertical space. Consider adding hooks or hanging organizers underneath the shelves to store items such as mugs or tools.
By following these finishing touches, you can ensure that your wire shelving is secure, visually appealing, and optimized for efficient organization. Remember to regularly reassess and adjust your organization system as needed.

Credit: www.pinterest.com
Frequently Asked Questions For How To Install Wire Shelving Upside Down
What Are The Benefits Of Installing Wire Shelving Upside Down?
When installed upside down, wire shelving provides a sleek, modern look and easier access to items. It also allows for customization, maximizes space, and offers a unique aesthetic touch to any room.
How Do I Properly Install Wire Shelving Upside Down?
To install wire shelving upside down, start by measuring and marking the height for the shelves, then mount the brackets to the wall at the desired height. After aligning the shelves on the brackets, secure them in place and ensure they are level for proper functionality.
What Tools Do I Need To Install Wire Shelving Upside Down?
To install wire shelving upside down, you will require a few basic tools such as a level, drill, screwdriver, measuring tape, and anchors if needed. These tools will help you properly mount the brackets and secure the shelves in place for a sturdy installation.
Conclusion
Installing wire shelving upside down can provide numerous benefits, such as better visibility and accessibility to items stored. By following the step-by-step guide in this blog post, you can easily transform your space and improve the functionality of your shelves.
Remember to choose high-quality hardware and ensure proper measurements for a successful installation. Happy organizing!
{ “@context”: “https://schema.org”, “@type”: “FAQPage”, “mainEntity”: [ { “@type”: “Question”, “name”: “What are the benefits of installing wire shelving upside down?”, “acceptedAnswer”: { “@type”: “Answer”, “text”: “When installed upside down, wire shelving provides a sleek, modern look and easier access to items. It also allows for customization, maximizes space, and offers a unique aesthetic touch to any room.” } } , { “@type”: “Question”, “name”: “How do I properly install wire shelving upside down?”, “acceptedAnswer”: { “@type”: “Answer”, “text”: “To install wire shelving upside down, start by measuring and marking the height for the shelves, then mount the brackets to the wall at the desired height. After aligning the shelves on the brackets, secure them in place and ensure they are level for proper functionality.” } } , { “@type”: “Question”, “name”: “What tools do I need to install wire shelving upside down?”, “acceptedAnswer”: { “@type”: “Answer”, “text”: “To install wire shelving upside down, you will require a few basic tools such as a level, drill, screwdriver, measuring tape, and anchors if needed. These tools will help you properly mount the brackets and secure the shelves in place for a sturdy installation.” } } ] }